
Pankil is a Civil Engineer turned freelance writer. Since his arrival at Guiding Tech in 2021, he delves into the world of how-tos, and troubleshooting guides for Android, iOS, and Windows. Besides his new-found love for mechanical keyboards, he's a disciplined footfall fan and loves international travel with his wife. Learn about our Tech Review Board
Updated August 14, 2024Your Windows 11 PC includes a dedicated Chat app that can help you access and respond to your Teams conversations instantly from the taskbar. Sometimes, sync issues with the Chat app can cause the Teams app to show a notification badge on Windows even after you’ve read your messages.
To fix this, you will need to open the Chat app on Windows and clear your notification from there. For that, click the Chat app icon on the taskbar and make sure there are no unread messages.
Additionally, click the three-dot icon at the top and open any pending alerts about new features and updates. After that, the annoying Teams notification should go away.

Another way to make the Teams notification disappear is to disable its notifications on Windows and then re-enable them. Here’s how you can go about it.
Step 1: Press the Windows key + I to open the Settings app and head to System > Notifications.
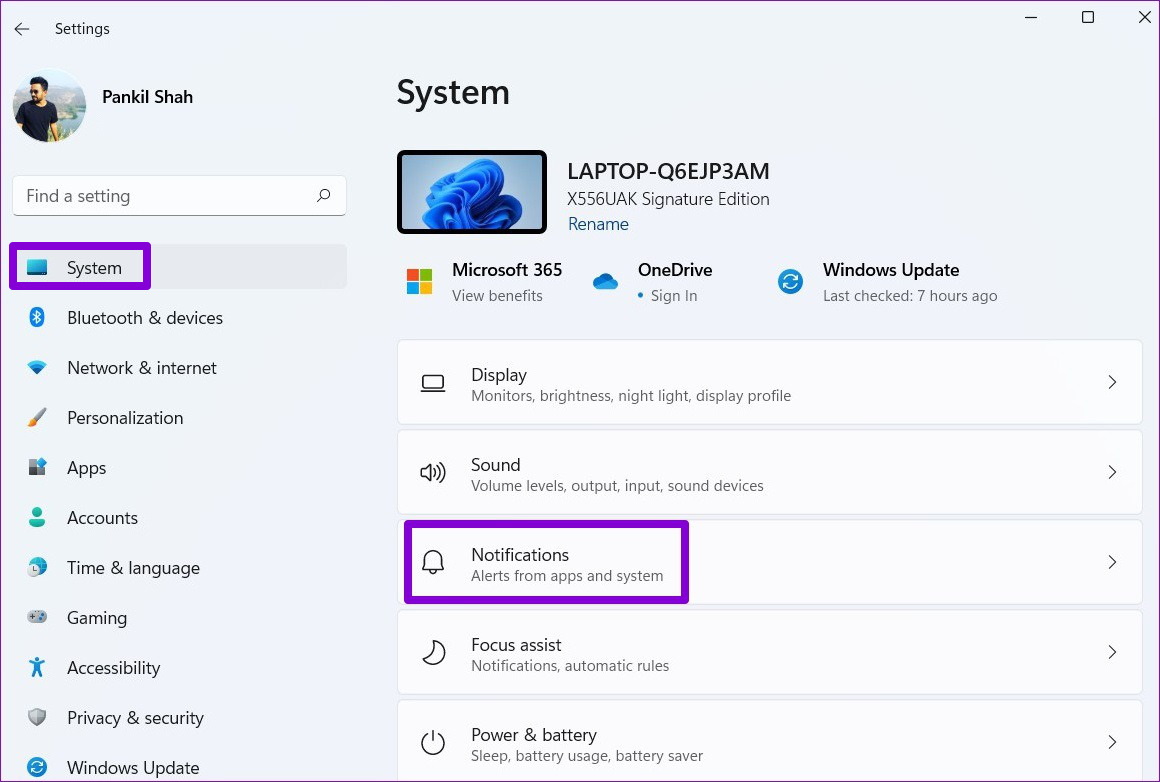
Step 2: Scroll down to locate Microsoft Teams on the list and disable the toggle next to it. Wait for a few seconds, and then turn it back on.

Such issues can also occur if the existing cache data associated with Microsoft Teams has become corrupted. You can try clearing the existing Teams app cache on your PC to see if that restores normalcy.
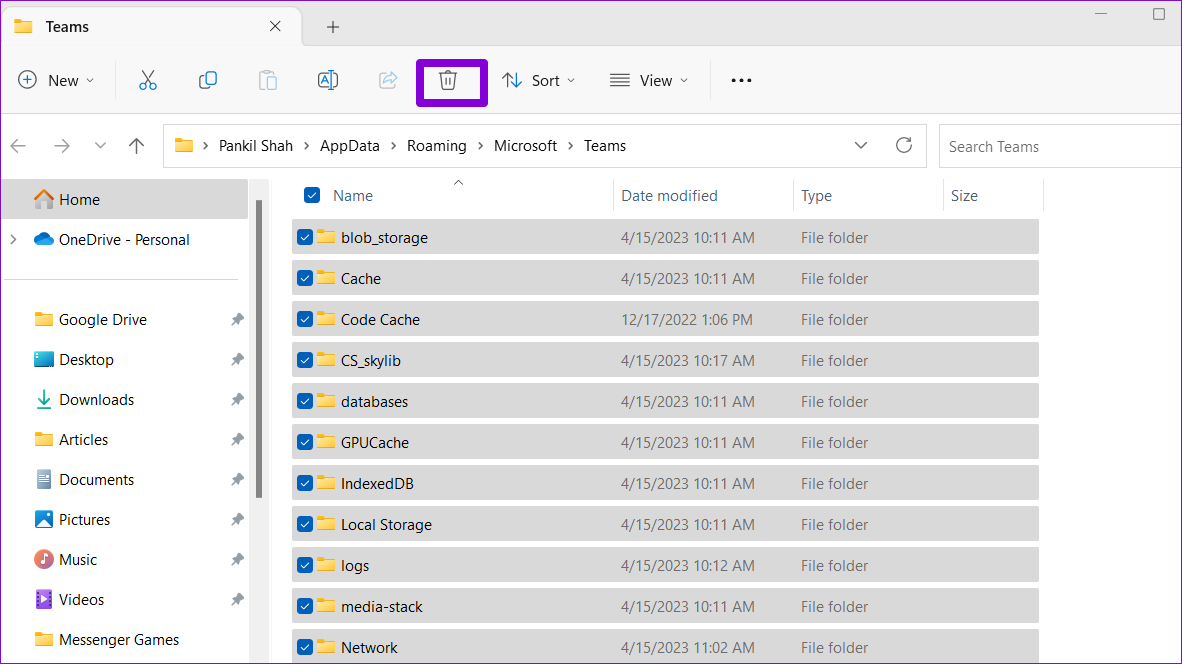
Step 1: Press the Windows key + R to open the Run dialog box. Type %appdata%\Microsoft\Teams in the Open field and press Enter.
Step 3: In the File Explorer window that opens, press the Ctrl + A keyboard shortcut to select all the files and folders. Then, click the trash icon at the top to delete them.
Repairing an app on Windows is an effective way to fix issues that may be affecting its functioning. So, if the Microsoft Teams notification won’t go away even after trying the above tips, you can use the built-in repair feature on Windows to fix the Teams app.
Step 1: Press the Windows key + S to open the search menu. Type Microsoft Teams in the search box and select App settings from the right pane.
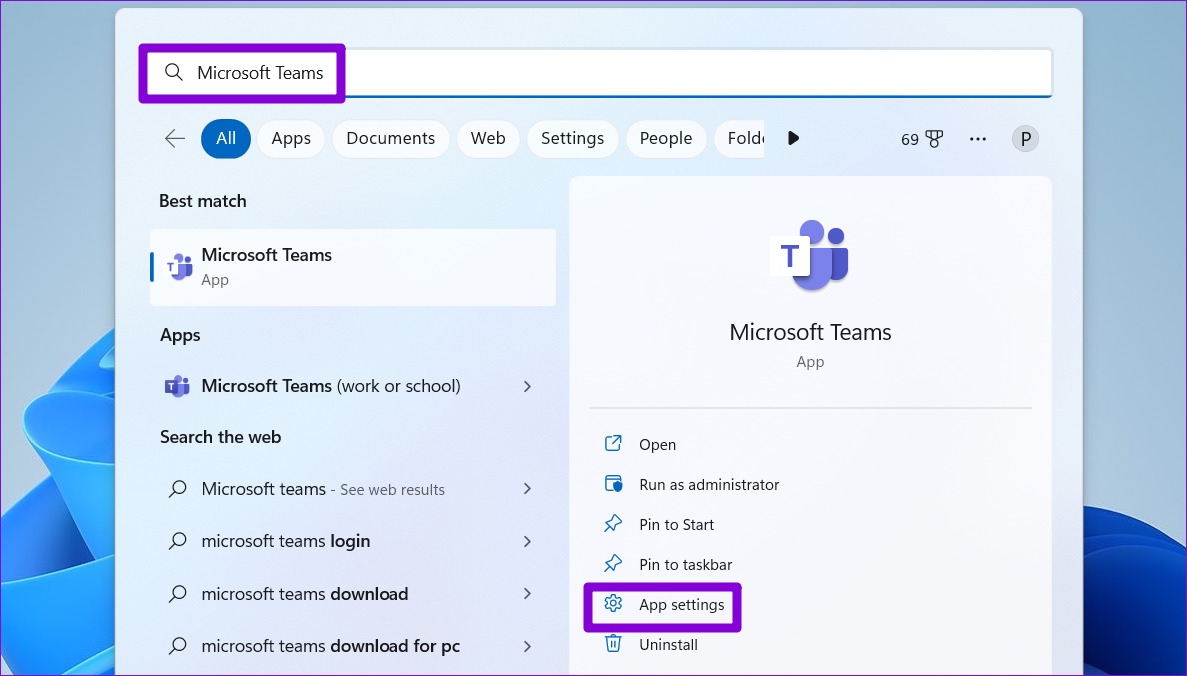
Step 2: Scroll down to the Reset section and click the Repair button.

If the issue persists even after attempting a repair, you can click the Reset button. This will delete all the app data, effectively resolving any issues caused by corrupt data or misconfigured settings.